If your riding mower’s battery has gone dead, you’re not alone – nearly 90% of riding mower owners face this issue at some point. But don’t worry, it’s a simple process to charge it back to life. By following a few easy steps, you can have your mower up and running in no time.
Remember to always prioritize safety, and ensure the charger is compatible with your battery. Access the battery, connect the charger, and let it charge for a few hours. Once it’s charged, test it out to make sure everything is running smoothly.
With a little know-how, you’ll have your riding mower back in action without a hitch.
Safety Precautions
Before attempting to charge your riding mower’s dead battery, ensure your safety by wearing protective gear and disconnecting the battery cables.
Safety should always be your top priority when dealing with electrical components. Put on gloves and safety goggles to protect yourself from any potential sparks or battery acid.
Next, make sure the riding mower is turned off before attempting to charge the battery. Disconnect the black (negative) cable first, followed by the red (positive) cable. This will prevent any accidental electrical discharge.
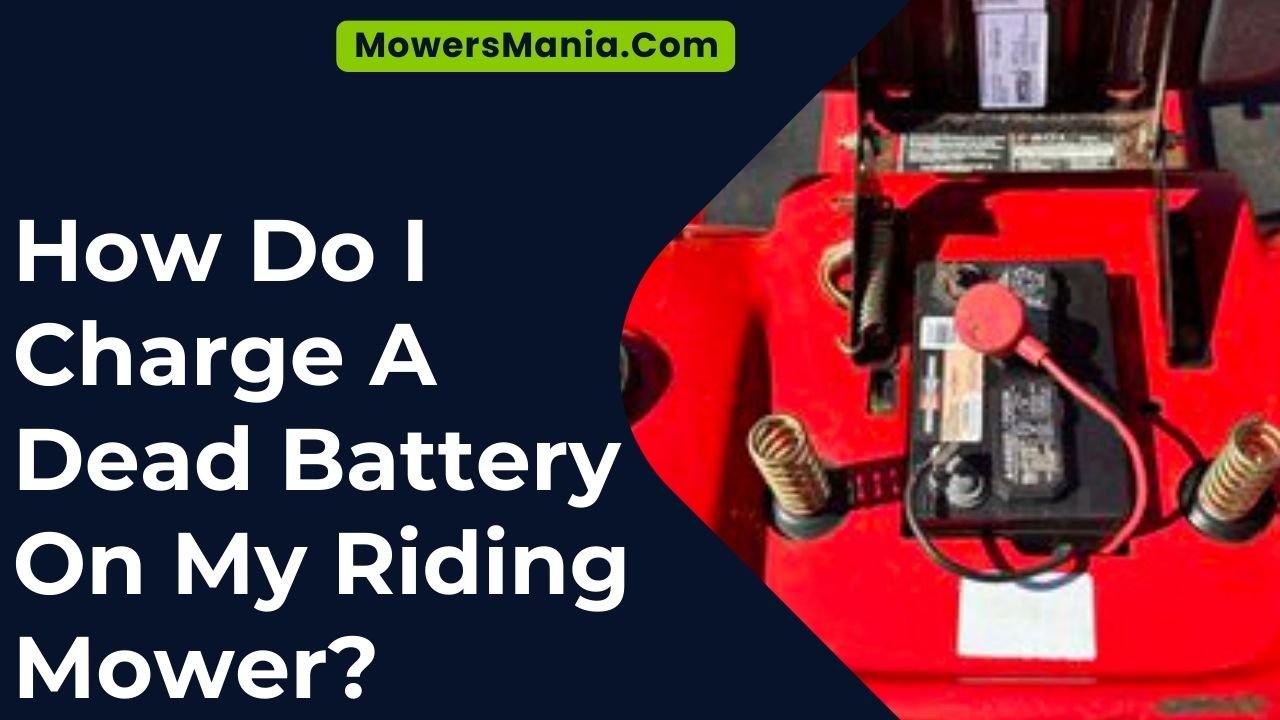
Once the cables are disconnected, carefully remove the battery from the mower and place it on a stable, flat surface. Inspect the battery for any damage or leaks before proceeding.
Remember to work in a well-ventilated area to avoid inhaling any fumes emitted by the battery.
By taking these safety precautions, you can ensure a safe and successful battery charging process for your riding mower.
Always prioritize safety to prevent accidents and injuries.
Accessing the Battery
To access the battery on your riding mower, locate the battery compartment under the seat or hood.
Once you’ve found the compartment, follow these steps to access the battery:
- Remove the Seat: If the battery is located under the seat, lift the seat to reveal the battery compartment underneath. Some seats may have bolts or latches securing them in place, so use the appropriate tools to loosen and remove them.
- Open the Hood: If the battery is located under the hood, release the hood latch and carefully lift the hood to expose the battery compartment. Ensure that the hood is securely propped open to prevent it from accidentally falling while you work.
- Disconnect Cables: Before removing the battery, disconnect the negative (-) cable first, followed by the positive (+) cable. Use a wrench to loosen the nuts securing the cables to the battery terminals, and carefully lift the cables away from the terminals to prevent accidental sparking.
- Remove the Battery: After disconnecting the cables, carefully lift the battery out of the compartment, taking care not to tip it over or spill any acid. Place the battery on a stable, flat surface for charging.
Following these steps will allow you to safely access the battery on your riding mower for charging or replacement.
Connecting the Charger
Once you have accessed the battery compartment on your riding mower, connect the charger to the battery following these steps.
First, make sure the charger is unplugged before connecting it to the battery.
Then, identify the positive and negative terminals on the battery. The positive terminal is usually marked with a plus sign, while the negative terminal is marked with a minus sign.
Next, connect the positive (red) clamp of the charger to the positive terminal of the battery. Ensure that it’s securely attached.
After that, connect the negative (black) clamp of the charger to the negative terminal of the battery, again ensuring a secure connection.
Once both clamps are securely connected, plug in the charger to an electrical outlet.
Now, turn on the charger and follow the manufacturer’s instructions for charging a dead battery.
It’s important to monitor the battery while it’s charging and disconnect the charger once the battery is fully charged to prevent overcharging.
Following these steps will help you safely and effectively charge the dead battery on your riding mower.
Charging the Battery
You should start charging the battery on your riding mower as soon as you have connected the charger to the battery.
Here’s what you need to do next:
- Check the Charger: Ensure that the charger is plugged into a power source and switched on. It’s important to make sure that the charger is functioning properly before leaving it unattended.
- Monitor the Charging Process: Keep an eye on the charging progress. Most riding mower batteries will take several hours to fully charge. You should periodically check the charger to ensure it’s working as expected and that there are no issues with the connection.
- Safety Precautions: While the battery is charging, it’s essential to maintain safety precautions. Avoid touching the battery terminals and keep the area well-ventilated to prevent the accumulation of potentially hazardous gases.
- Disconnecting the Charger: Once the battery is fully charged, carefully disconnect the charger from the battery, ensuring that you remove the negative (black) cable first, followed by the positive (red) cable to prevent any electrical hazards.
Testing the Battery
Test the battery using a multimeter to measure its voltage and determine its charging status.
First, turn off the mower and locate the battery. Connect the multimeter’s red probe to the positive terminal of the battery and the black probe to the negative terminal. The multimeter should display the battery’s voltage.
A fully charged 12-volt battery should read around 12.6 to 12.8 volts. If the reading is lower than 12.4 volts, the battery may need to be recharged.
Next, start the mower and engage the blades. Check the multimeter reading while the engine is running and the blades are engaged.
If the voltage drops significantly below 12 volts, the battery may not be holding a charge and could need replacement. Additionally, if the voltage remains around 12.6 to 12.8 volts, the battery is likely in good condition.
Testing the battery’s voltage with a multimeter is a quick and effective way to determine its charging status and decide if it needs recharging or replacement.
Frequently Asked Questions [FAQs]
How Often Should I Check the Battery on My Riding Mower for Maintenance?
You should check the battery on your riding mower for maintenance at least once a month. It’s important to ensure that the battery is in good condition and properly charged to avoid any unexpected issues while mowing.
Can I Use a Regular Car Battery Charger to Charge My Riding Mower Battery?
Yes, you can use a regular car battery charger to charge your riding mower battery. Just make sure to use a charger with a low-amp setting and connect the positive cable to the positive terminal and the negative cable to the negative terminal.
What Are Some Signs That Indicate My Riding Mower Battery Needs to Be Replaced?
If your riding mower battery needs to be replaced, you may notice slow engine cranking, dim headlights, or a clicking sound when you turn the key. These are signs that indicate it’s time for a new battery.
How Long Should I Leave the Battery Charger Connected to the Riding Mower Battery?
First, you should leave the battery charger connected to the riding mower battery for about 12 hours. It’s important to check the charger’s instructions and ensure the battery is fully charged before disconnecting it.
Are There Any Specific Maintenance Tasks I Should Perform on My Riding Mower to Ensure the Battery Stays Charged and in Good Condition?
To ensure your riding mower’s battery stays charged and in good condition, regularly check and clean the battery terminals, store the mower in a dry place, and use a battery maintainer during extended periods of non-use.
Conclusion
Now that you have successfully charged your dead battery on your riding mower, it’s important to remember to always follow safety precautions when working with electrical equipment.
Regular maintenance and proper battery care will help ensure that your mower is always ready to go when you need it.
Happy mowing!

