So, you’ve been diligently maintaining your mower, but have you checked the blade brake recently? It’s easy to overlook, but ensuring the blade brake is functioning properly is crucial for your safety and the longevity of your mower.
If you’ve never inspected or adjusted the blade brake before, it’s essential to understand the process and have the right tools on hand.

Stick around to learn how to check and adjust the blade brake on your mower, and rest assured that you’ll be able to safely tackle your yard work.
Importance of Blade Brake Functionality
Maintaining the functionality of the blade brake on your mower is crucial for ensuring your safety and the efficient operation of the equipment.
When the blade brake is functioning properly, it allows you to stop the mower’s blade quickly, preventing potential accidents and injuries.
Imagine a scenario where the blade brake fails to engage when you need it the most – it could result in serious harm to you or others nearby. Additionally, a properly functioning blade brake contributes to the efficient operation of the mower.
It allows you to swiftly halt the blade’s rotation, enabling you to change cutting heights, clear debris, or maneuver the mower without unnecessary delays.
Neglecting the maintenance of the blade brake could lead to increased wear and tear on the equipment, potentially resulting in costly repairs or replacements.
Therefore, it’s imperative to regularly inspect and adjust the blade brake to ensure it’s in optimal working condition.
Your proactive approach to maintaining the blade brake’s functionality not only safeguards your well-being but also prolongs the lifespan of your mower.
Tools Needed for Inspection
To conduct a thorough inspection of the blade brake, you will require a few essential tools. These tools will allow you to properly assess the condition of the blade brake and make any necessary adjustments.
Here are the tools you’ll need for the inspection:
| Tools Needed | Description | Purpose |
|---|---|---|
| Socket Wrench | Hand tool for tightening and loosening bolts | Used to remove the blade and access the blade brake assembly. |
| Torque Wrench | Measures the tightening torque of bolts | Ensures that the blade brake fasteners are tightened to the correct specifications. |
| Safety Gloves | Protective gloves for hand safety | Prevents cuts or injuries when handling the blade and brake components. |
| Inspection Mirror | Tool for visual inspection in tight spaces | Allows you to inspect hard-to-see areas of the blade brake assembly. |
These tools are essential for a comprehensive inspection of the blade brake on your mower. Using them will enable you to assess the condition of the blade brake and make any necessary adjustments with precision and safety.
Steps to Check the Blade Brake

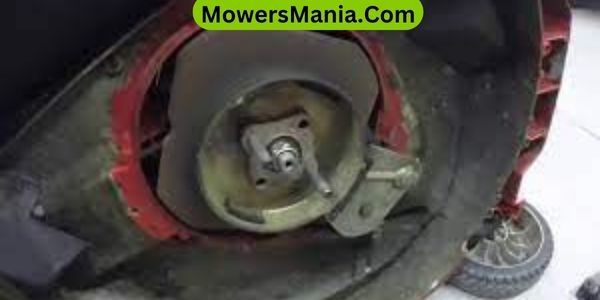
Using a socket wrench, carefully remove the blade to access the blade brake assembly for inspection.
Once the blade is removed, follow these steps to check the blade brake:
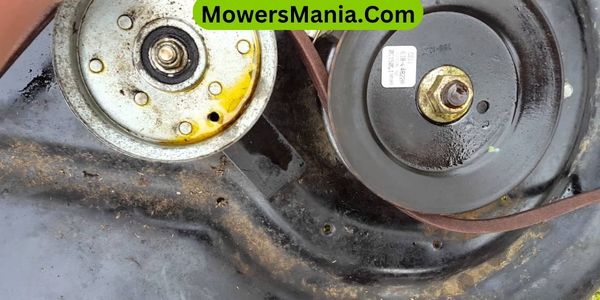
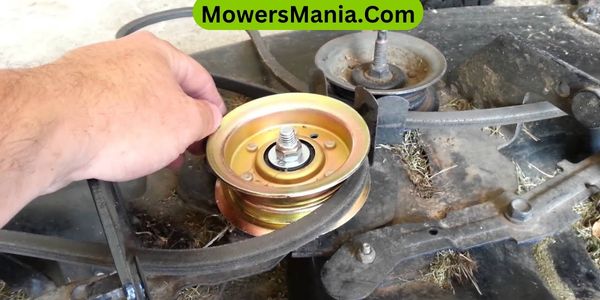
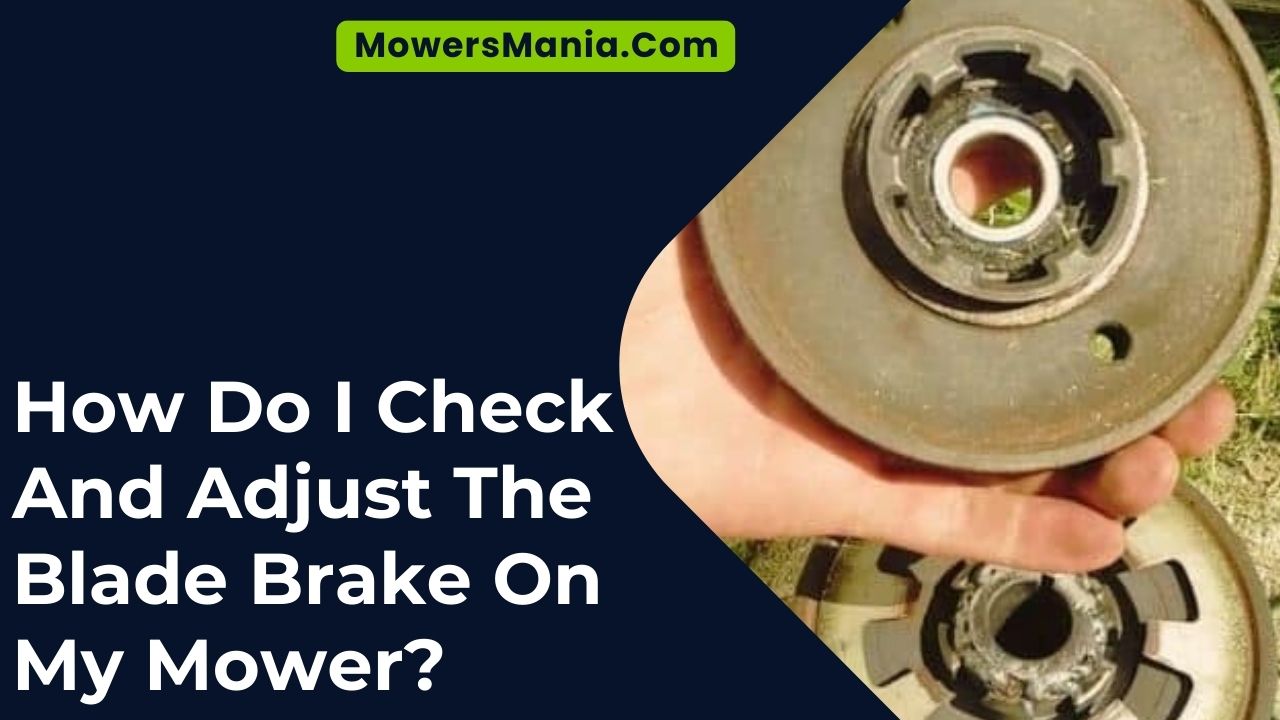
- Visual Inspection: Examine the brake pads for wear and tear, and check for any signs of damage or contamination.
- Brake Engagement Test: With the blade removed, engage the blade control lever to see if the brake engages properly. If the blade spins freely, the brake may need adjustment.
- Measurement: Use a feeler gauge to measure the air gap between the brake pads and the blade adapter. This will help determine if the brake pads are correctly positioned.
- Cleaning and Lubrication: Clean the brake assembly to remove any debris and apply a light layer of lubricant to ensure smooth operation.
Adjusting the Blade Brake Tension
To adjust the blade brake tension, start by using the feeler gauge to measure the air gap between the brake pads and the blade adapter, as instructed in the previous steps for checking the blade brake.
Once you have determined the current air gap, you can proceed to adjust the tension accordingly.
Loosen the locknut on the blade brake cable using a wrench. Then, turn the adjustment nut to either increase or decrease the tension, depending on the measurement obtained with the feeler gauge. Tighten the locknut back in place to secure the adjustment.
After making the necessary adjustments, recheck the air gap using the feeler gauge. Ensure that the gap falls within the specified range according to the mower’s manual.
If the gap is still not within the correct range, repeat the adjustment process until the proper tension is achieved.
It’s crucial to test the blade brake operation after each adjustment to guarantee that it engages and disengages correctly.
Testing the Blade Brake Operation

You can test the blade brake operation by engaging and disengaging it multiple times to ensure proper functionality.
Here’s how you can do it:
- Engage the blade brake by pulling the lever or pressing the button designated for this function.
- Observe the blade to ensure it comes to a complete stop within a few seconds.
- Disengage the blade brake and allow the blade to spin freely.
- Engage and disengage the blade brake multiple times to check for consistency in its operation.
Frequently Asked Questions [FAQs]
Can I Use Any Type of Lubricant to Grease the Blade Brake Mechanism?
You can’t use just any type of lubricant to grease the blade brake mechanism. It’s important to use a specific lubricant recommended by the manufacturer to ensure proper functioning and avoid damage to the mower.
Is It Normal for the Blade Brake to Make a Squeaking or Grinding Noise When Engaged?
When the blade brake makes a squeaking or grinding noise when engaged, it could indicate wear or misalignment. Inspect the brake mechanism for any signs of damage or excessive wear, and adjust or replace components as needed to ensure smooth operation.
How Often Should I Check and Adjust the Blade Brake Tension?
You should check and adjust the blade brake tension on your mower at least once a season to ensure proper functionality. This will help maintain the effectiveness of the brake and prevent any potential safety issues.
Can I Adjust the Blade Brake Tension Without Professional Help?
You can definitely adjust the blade brake tension on your mower without professional help. Just follow the manufacturer’s guidelines in the user manual. It’s a simple process that you can easily do yourself.
What Are the Signs That Indicate the Blade Brake Needs to Be Replaced?
If the blade brake on your mower needs to be replaced, signs may include excessive vibration, difficulty engaging or disengaging the blades, and unusual noises. It’s important to address these issues promptly for safety.
Conclusion
Now that you know how to check and adjust the blade brake on your mower, you can ensure that it’s functioning properly for safe operation.
Regular maintenance of the blade brake is crucial for preventing accidents and keeping your mower in good working condition.
By following these simple steps, you can enjoy a smooth and safe mowing experience.


