You know how frustrating it can be when a lawn mower wheel comes loose and wobbles like a loose tooth?
Reattaching it is easier than you think. Just follow these simple steps and you’ll have your lawn mower back in action in no time.
Tools Required for Reattachment
When reattaching a lawn mower wheel, you’ll need to use a few essential tools to ensure a secure and reliable connection.
The first tool you’ll need is a wrench, preferably one that fits the size of the bolt on the wheel axle. This will allow you to tighten the bolt securely, preventing the wheel from wobbling or coming loose during use.
Additionally, a pair of pliers will come in handy for holding the bolt in place while you tighten it with the wrench, ensuring a stable and even connection.
Next, you’ll need a jack to elevate the mower, providing easier access to the wheel assembly. This will make the reattachment process much more convenient and efficient.
Furthermore, having a wire brush to clean the wheel hub and axle before reattaching the wheel is crucial for removing any dirt, rust, or debris that could affect the connection.
Lastly, a torque wrench can be used to ensure that the bolt is tightened to the manufacturer’s recommended specifications, preventing over-tightening or under-tightening, which could lead to issues with the wheel’s performance.
With these tools, you can confidently reattach your lawn mower wheel, ensuring safe and effective operation.
Removing the Wheel
To remove the lawn mower wheel, first, locate and loosen the bolt on the wheel axle using the appropriate-sized wrench. Ensure that the mower is on a flat, stable surface and engage the parking brake to prevent any accidental movement.
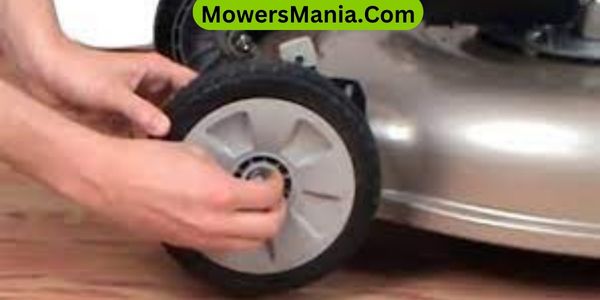
Once the bolt is loosened, carefully slide the wheel off the axle. If the wheel seems stuck, gently tap the back of the wheel with a rubber mallet to release it from the axle.
If your mower has a wheel cover, remove it by prying it off with a flathead screwdriver. Be mindful of any washers or spacers that may be present between the wheel and the axle, as these will need to be reinstalled in the correct order during reattachment.
Inspect the wheel and axle for any signs of damage or wear, and clean any debris or dirt from the axle to ensure smooth reinstallation.
With the wheel successfully removed, you can now proceed with any necessary maintenance or repairs before reattaching it to the lawn mower.
Inspecting the Wheel and Axle
First, carefully inspect the wheel and axle for any signs of damage, such as cracks or bends.
Next, ensure that the axle is well-lubricated to prevent friction and allow for smooth rotation.
Lastly, make sure that the wheel is securely attached to the axle before proceeding with reattachment.
Check for Damage
Inspect the wheel and axle for any signs of damage before attempting to reattach the lawn mower wheel. Look for the following:
- Cracks or Breaks: Examine the wheel and axle thoroughly for any cracks or breaks, as these can compromise the structural integrity and safety of the mower.
- Bent or Warped Components: Check for any bends or warping in the wheel or axle, as these can cause the mower to wobble or operate unevenly.
- Loose or Missing Parts: Ensure that all nuts, bolts, and washers are present and securely fastened. Replace any missing or damaged hardware before reattaching the wheel.
- Excessive Wear: Assess the tread and overall condition of the wheel for excessive wear. If the wheel is significantly worn, it may need to be replaced to maintain optimal performance.
Lubricate the Axle
Lubricating the axle ensures smooth movement and prevents friction when inspecting the wheel and axle of your lawn mower.
Begin by removing the wheel from the axle. Check the axle for any signs of wear or damage.
Next, wipe the axle clean with a rag to remove any dirt or debris. Apply a generous amount of grease to the axle, ensuring that it’s evenly distributed. Rotate the axle to help the grease spread throughout.
Finally, reattach the wheel to the axle and ensure that it spins freely.
Regularly lubricating the axle will help maintain the smooth operation of your lawn mower and extend the life of the wheel and axle components.
Reattaching the Wheel
To reattach the lawn mower wheel, start by ensuring proper alignment with the axle.
Then, secure the wheel in place with the appropriate fasteners.
This will ensure the wheel stays firmly in place as you continue to use the lawn mower.
Proper Wheel Alignment
How do you ensure proper alignment when reattaching the lawn mower wheel?
Follow these steps to ensure the wheel is properly aligned:
- Clean the Hub: Make sure the hub and axle are clean and free from any debris or rust that could affect the alignment.
- Align Bolt Holes: Match the bolt holes on the wheel with those on the axle to ensure proper alignment before attaching the wheel.
- Tighten Gradually: When securing the wheel in place, tighten the bolts gradually and evenly to prevent misalignment.
- Check for Wobbling: After reattaching the wheel, give it a gentle spin to check for any wobbling or misalignment that may require further adjustments.
Securing With Fastener
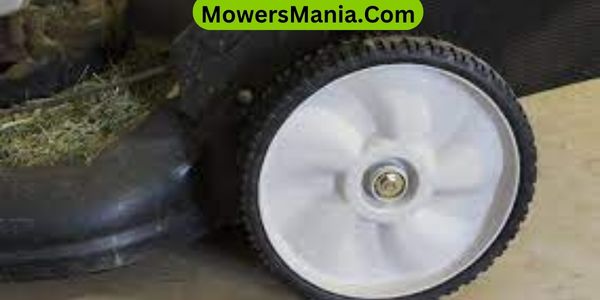
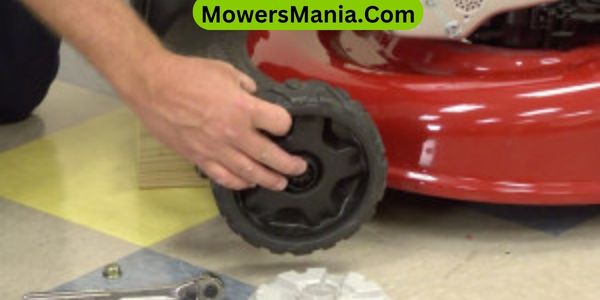
Attach the wheel securely using the appropriate fasteners and ensure the bolts are tightened evenly. Start by placing the wheel onto the axle, making sure it fits properly.
Then, insert the bolts through the wheel hub and into the corresponding holes on the axle. Use a wrench to tighten the bolts, alternating between them to ensure even tightening. This will help prevent the wheel from wobbling or coming loose during operation.
Check the manufacturer’s specifications for the recommended torque setting and use a torque wrench if available. Once the bolts are properly tightened, give the wheel a gentle tug to confirm that it’s secure.
Now that the wheel is securely fastened, proceed to the next step in getting your lawn mower back in action.
Securing the Wheel in Place
Use a wrench to tightly secure the wheel in place on the lawn mower axle. Ensure that the wheel is properly aligned and sits flush against the axle before tightening the fastener. Once the fastener is snug, give it an extra quarter turn to ensure it’s securely in place.
Tips for Securing the Wheel:
- Align the wheel properly before tightening the fastener.
- Ensure the wheel sits flush against the axle to prevent wobbling.
- Use a wrench to tighten the fastener securely.
- Give the fastener an extra quarter turn to ensure it’s tightly in place.
Testing the Reattached Wheel
After reattaching the wheel, test its stability by giving it a firm tug to ensure it’s securely in place on your lawn mower. Grab the wheel and pull it towards you with moderate force.
If the wheel feels loose or wobbles, it may not be properly secured. In such a case, turn off the lawn mower engine, wait for all moving parts to come to a complete stop, and then readjust the wheel following the reattachment steps.
Once you’ve made the necessary adjustments, repeat the tug test to confirm that the wheel is now securely attached.
Next, lift the lawn mower and rotate the reattached wheel. It should spin freely and smoothly without any wobbling or unusual noises.
If the wheel doesn’t rotate properly, it may indicate that the reattachment wasn’t successful, and further adjustments are needed.
Frequently Asked Questions [FAQs]
How Often Should I Check My Lawn Mower Wheels for Reattachment?
You should check your lawn mower wheels for reattachment at least once a month. Look for loose or missing bolts and make sure the wheels are securely in place to prevent accidents while mowing.
Can I Use Any Type of Lubricant on the Wheel Axle Before Reattaching the Wheel?
Yes, you can use lubricant on the wheel axle before reattaching the wheel. It will help the wheel move smoothly and prevent rust. Apply a small amount of lubricant to the axle before securing the wheel in place.
What Should I Do if the Wheel Is Damaged and Cannot Be Reattached?
If the wheel is damaged and cannot be reattached, you should consider replacing it with a new one. Check with the manufacturer or a local hardware store for the correct replacement part.
Are There Any Specific Safety Precautions I Need to Take When Reattaching a Lawn Mower Wheel?
When reattaching a lawn mower wheel, always wear gloves and eye protection. Ensure the mower is turned off and the wheel is securely fastened. Avoid touching hot engine parts. Follow the manufacturer’s instructions for safety and proper reattachment.
Is There a Specific Weight Limit for the Lawn Mower That Could Affect the Reattachment Process?
Make sure to check the weight limit of your lawn mower before reattaching the wheel. Exceeding the weight limit could affect the stability and performance of the mower, potentially making reattachment more challenging.
Conclusion
Now that you’ve reattached your lawn mower wheel, give it a test run to ensure it’s secure and functioning properly.
If everything looks good, you’re all set to get back to mowing your lawn with ease.
Remember to regularly inspect and maintain your lawn mower to prevent any future issues with the wheels or other parts.
Happy mowing!

