Are you struggling with the belt tension on your riding lawn mower? Don’t worry, we’ve got you covered!
In this article, we’ll show you how to easily adjust the belt tension and get your mower running smoothly again. With a few simple steps, you’ll be able to tighten or loosen the belt tension to ensure optimal performance.

Get ready to tackle your lawn maintenance like a pro!
How To Adjust The Belt Tension On A Riding Lawn Mower?
1. Safety Precautions
Before starting, make sure you’re using the proper safety gear and have familiarized yourself with the owner’s manual. Safety is the utmost priority when adjusting the belt tension on your riding lawn mower.
Firstly, ensure that you’re wearing protective eyewear, gloves, and closed-toe shoes. These safety precautions will shield you from any potential flying debris or accidental contact with sharp objects.
Additionally, it’s important to understand the owner’s manual thoroughly to ensure you follow the correct procedures and precautions specific to your mower model.
When adjusting the belt tension, always remember to turn off the engine and remove the ignition key to prevent any accidental startup.
Engaging the parking brake will further secure the mower in place. It’s crucial to inspect the belt and pulleys for any signs of damage or wear before making any adjustments. Ensure there are no obstructions or debris in the belt’s path.
Furthermore, avoid touching any moving parts while the engine is running or attempting to adjust the belt tension.
By adhering to these safety precautions, you’ll minimize the risk of injury and ensure a smooth and efficient belt tension adjustment process.
Always prioritize safety and take the necessary steps to protect yourself and others while working on your riding lawn mower.
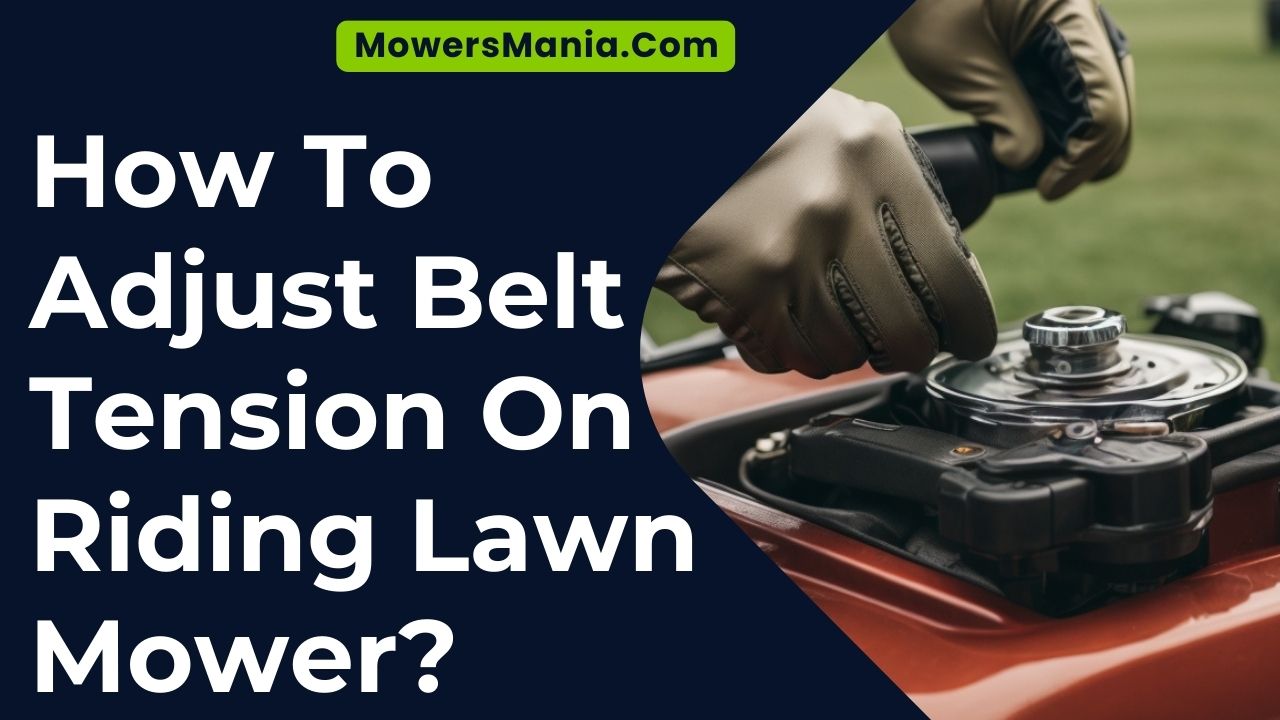
2. Locate the Belt Tension Adjustment Mechanism

To locate the belt tension adjustment mechanism, refer to the owner’s manual for your specific model of riding lawn mower and follow these steps.
The belt tension adjustment mechanism can vary depending on the make and model of your mower, so it’s important to consult the manual for accurate information. Once you have your owner’s manual handy, start by identifying the location of the belt tension adjustment mechanism on your mower.
It’s usually located near the engine or the deck. Look for a lever or a bolt that can be adjusted to change the tension of the belt. Some models may have a spring-loaded mechanism that automatically adjusts the tension.
If you’re having trouble locating the adjustment mechanism, you can also try searching online for diagrams or videos specific to your mower model. Remember to always ensure that the mower is turned off and the engine is cool before attempting any adjustments.
Additionally, take the necessary safety precautions, such as wearing gloves and eye protection.
3. Loosen The Belt Tension

To loosen the belt tension on your riding lawn mower, simply locate the adjustment mechanism and turn the bolt counterclockwise.
This adjustment mechanism is usually located near the engine or the deck. Look for a bolt or a nut that’s connected to a tensioning pulley.
Once you have found it, use a wrench or a socket to turn the bolt counterclockwise. As you turn the bolt, you’ll notice that the tension on the belt decreases. Keep turning until you feel that the belt is loose enough to remove or adjust as needed.
It is important to note that when loosening the belt tension, you shouldn’t completely remove the belt from the pulleys. The belt should still be connected to all the necessary pulleys to ensure proper operation of the mower.
It’s also important to not overtighten or over tension the belt, as this can lead to premature wear and tear or even damage to the belt and other mower components.
4. Adjust The Belt Tension

To adjust the belt tension on your riding lawn mower, you’ll need to carefully tighten the bolt or nut connected to the tensioning pulley. This adjustment is crucial for maintaining optimal performance and preventing belt slippage.
Start by locating the tensioning pulley, which is usually located near the engine or the deck. Once you have located it, use a socket wrench or a wrench that fits the bolt or nut on the tensioning pulley. Turn the wrench clockwise to tighten the bolt or nut and increase the tension on the belt.
Be sure to only tighten it enough to remove any slack in the belt, as overtightening can cause excessive wear and damage.
After tightening the bolt or nut, check the tension of the belt by pressing down on it with your finger. It should have a slight give, but shouldn’t be too loose.
If you find that the belt is still too loose, you may need to repeat the tightening process until the desired tension is achieved. Remember to refer to your mower’s manual for specific instructions and recommended tension levels.
5. Test And Fine-tune The Belt Tension
Continue testing and fine-tuning the belt tension by checking the performance of your riding lawn mower.
Once you have adjusted the belt tension, it’s important to ensure that it’s working properly.
Start by engaging the blades and observing how they cut the grass. If the blades aren’t cutting evenly or leaving uncut patches, the belt tension may need further adjustment.
Additionally, listen for any unusual noises coming from the mower while it’s in operation. A loose or improperly tensioned belt can cause squeaking, rattling, or grinding sounds. If you notice any of these noises, it’s a sign that the belt tension needs to be adjusted.
Another way to test the belt tension is by checking the overall performance of the mower. Observe if the mower is vibrating excessively or if it isn’t moving as fast as it should. Incorrect belt tension may also be responsible for these issues.
Frequently Asked Questions [FAQs]
How Often Should I Check and Adjust the Belt Tension on My Riding Lawn Mower?
You should check and adjust the belt tension on your riding lawn mower regularly. This helps to ensure proper functioning and prevent wear and tear.
What Tools Do I Need to Adjust the Belt Tension on My Riding Lawn Mower?
To adjust the belt tension on your riding lawn mower, you’ll need a socket wrench and a belt tension gauge. These tools will help you ensure that the belt is properly tightened for optimal performance.
Can I Adjust the Belt Tension on My Riding Lawn Mower Without Professional Help?
Yes, you can adjust the belt tension on your riding lawn mower without professional help. It may require some tools and following specific steps, but with proper guidance, you can do it yourself.
What Are the Signs That Indicate the Belt Tension on My Riding Lawn Mower Needs Adjustment?
If the belt on your riding lawn mower is slipping or making noise, it may be a sign that the belt tension needs adjustment. You can easily do this without professional help.
Are There Any Specific Maintenance Tips to Ensure the Longevity of the Belt Tension Adjustment Mechanism on My Riding Lawn Mower?
To ensure the longevity of your riding lawn mower’s belt tension adjustment mechanism, it’s important to follow specific maintenance tips. Regularly inspect the mechanism for wear and tear, lubricate moving parts, and replace any damaged components promptly.
Conclusion
Adjusting the belt tension on a riding lawn mower is an important task to ensure smooth operation and optimal performance. By following the proper steps and taking necessary safety precautions, you can easily loosen or tighten the belt tension as needed.
Remember to test and fine-tune the tension to make sure it’s just right. With a little maintenance, your mower will be ready to tackle your lawn with ease.

