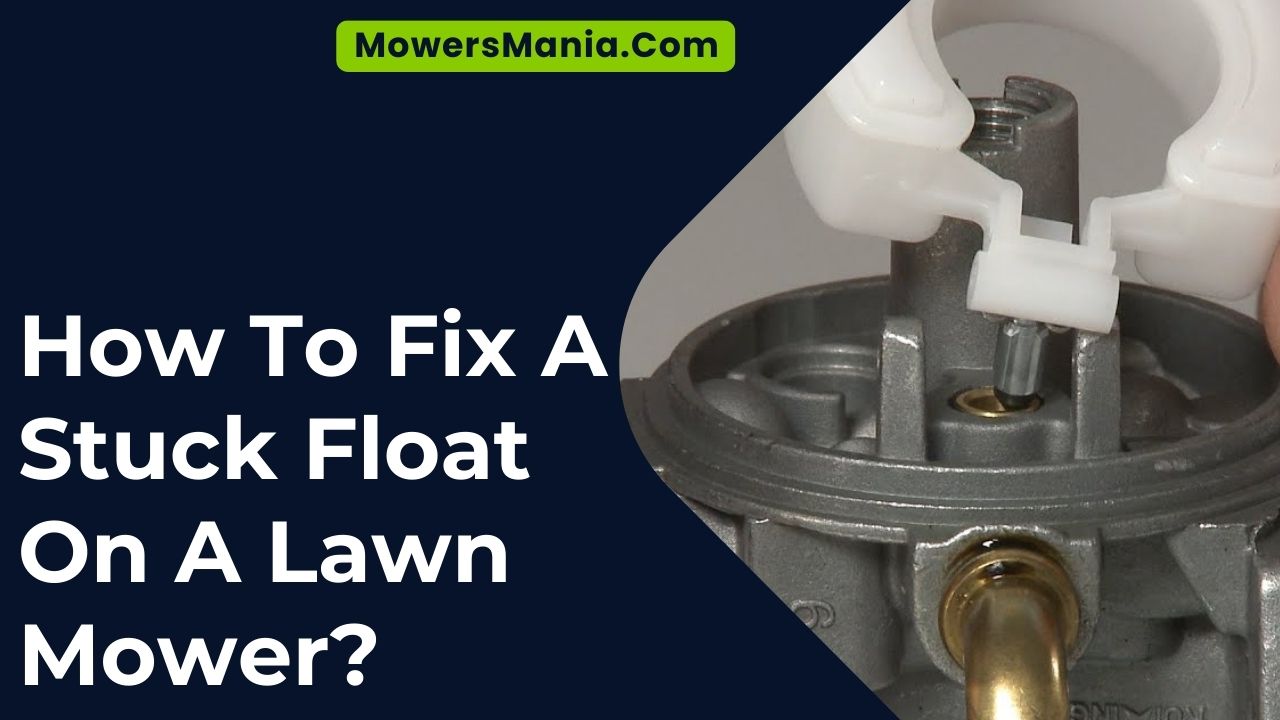
If you’re struggling with a lawnmower that’s not running smoothly, you might have a stuck float in the carburetor. Don’t worry, fixing it is easier than you think.
In this guide, we’ll walk you through the steps to diagnose and repair a stuck float, so you can get your lawnmower back in top shape. With just a few tools and some know-how, you’ll have your mower running like new in no time.
Understanding the Symptoms of a Stuck Float
If your lawnmower engine frequently floods or struggles to start, you may be experiencing symptoms of a stuck float.
A stuck float can disrupt the fuel flow in the carburetor, leading to an overly rich fuel mixture. This can cause the engine to flood, making it difficult to start.
Additionally, you might notice black smoke coming from the exhaust or a strong smell of gasoline when attempting to start the lawnmower.
Another common symptom of a stuck float is poor engine performance. The lawnmower may run unevenly, surge, or stall frequently.
This is due to the inconsistent fuel supply caused by the stuck float, leading to erratic engine behavior. Furthermore, you might observe that the lawnmower is consuming more fuel than usual, indicating an issue with the carburetor.
It’s essential to address these symptoms promptly to prevent further damage to the engine and ensure optimal performance of your lawnmower. By recognizing these signs of a stuck float, you can take the necessary steps to resolve the issue and get your lawnmower running smoothly again.
Tools and Materials Needed for the Fix
To address the symptoms of a stuck float, you’ll need a few basic tools and materials to perform the fix. Firstly, you’ll require a screwdriver set with both flathead and Phillips head screwdrivers. These will be essential for removing the screws that secure the lawnmower’s carburetor bowl.
Additionally, an adjustable wrench will be needed to disconnect the fuel line from the carburetor. It’s important to have a clean workspace, so keep some shop towels or rags handy to wipe up any spilled fuel or oil.
To clean the carburetor, you’ll need a can of carburetor cleaner. This powerful solvent will help dissolve any varnish or gunk that may be causing the float to stick.
Finally, it’s also a good idea to have a replacement carburetor float on hand, just in case the original float is damaged and needs to be replaced.
With these tools and materials at your disposal, you’ll be well-equipped to tackle the issue of a stuck float on your lawnmower.
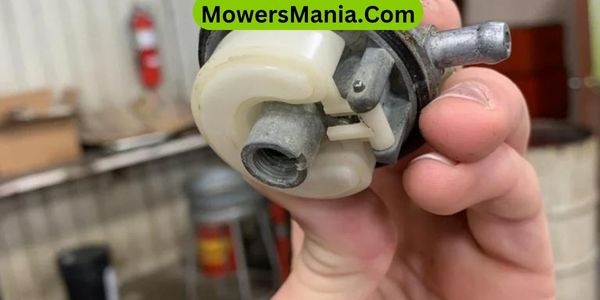
Disassembling the Carburetor
You will need a small flathead screwdriver to begin disassembling the carburetor.
Follow these steps to properly disassemble the carburetor:
- Locate the carburetor: Start by locating the carburetor on your lawnmower. It’s usually situated near the air filter and fuel tank.
- Disconnect the fuel line: Before disassembling the carburetor, it’s crucial to disconnect the fuel line to prevent fuel from leaking. Use pliers to loosen the clamp that secures the fuel line to the carburetor, then carefully pull the fuel line off.
- Remove the carburetor: Use the screwdriver to remove the bolts or screws that hold the carburetor in place. Once the fasteners are removed, gently lift the carburetor away from the engine. Be mindful of any linkages or connections that may still be attached.
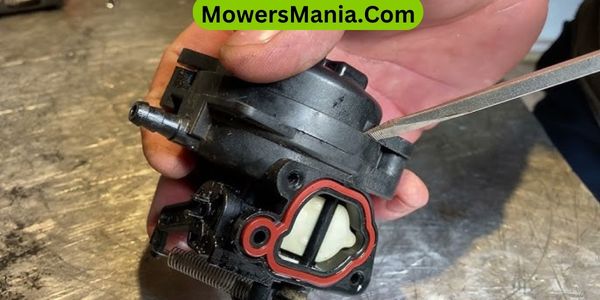
- Disassemble the carburetor: With the carburetor removed, carefully disassemble it by removing the screws or bolts that hold the different sections together. Take note of the orientation of the parts for reassembly.
Properly disassembling the carburetor is crucial in order to assess and fix any issues that may be causing the stuck float on your lawnmower.
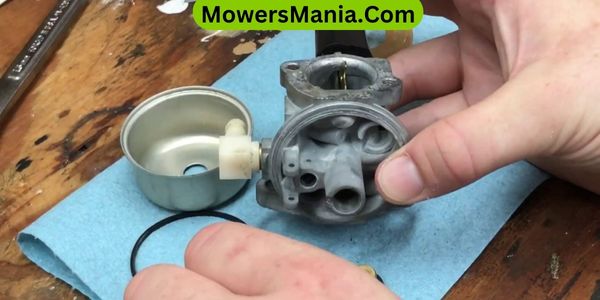
Cleaning and Inspecting the Float and Valve
After disassembling the carburetor, carefully clean and inspect the float and valve for any debris or damage using a small brush and carburetor cleaner.
Make sure to pay close attention to the needle valve, which the float operates. Any dirt or damage on the float or valve can cause fuel flow issues, leading to a stuck float.
| Signs of Debris or Damage | What to Do |
|---|---|
| Dirt or grime on the float or valve | Clean the affected areas with a small brush and carburetor cleaner. |
| Bent or damaged float | Replace the float if it is bent or damaged. |
| Stuck or damaged needle valve | Inspect the needle valve for any debris or damage, and replace if necessary. |
| Cracks or holes in the float | Replace the float if it has cracks or holes. |
| Wear and tear on the valve seat | Check for wear and tear on the valve seat, and replace if needed. |
After cleaning and inspecting the float and valve, reassemble the carburetor and test the lawnmower.
If the float was stuck due to debris or damage, this should resolve the issue. If the problem persists, further troubleshooting may be required.
Reassembling and Testing the Carburetor
Upon cleaning and inspecting the float and valve, proceed to reassemble the carburetor and conduct a test on the lawnmower to ensure proper functioning.
Begin by carefully placing the float and valve back into their respective positions within the carburetor. Ensure that all screws and bolts are securely fastened to prevent any leaks.
Once reassembled, turn on the lawnmower and let it run for a few minutes to allow the fuel to flow through the carburetor. Listen for any irregular sounds or sputtering, which could indicate that the float is still not functioning correctly.
After running the lawnmower for a few minutes, check underneath for any signs of leaking fuel, which would suggest a problem with the float and valve assembly.
If everything sounds normal and there are no leaks, the reassembling process was successful. If issues persist, it may be necessary to revisit the float and valve to ensure they’re functioning as intended.
Frequently Asked Questions [FAQs]
Can a Stuck Float Cause Other Issues With the Lawnmower, Such as Starting Problems or Uneven Running?
If the float is stuck, it can cause starting problems or uneven running in your lawnmower. It restricts fuel flow, affecting engine performance. This issue needs attention to ensure smooth operation of your lawnmower.
Are There Any Common Mistakes to Avoid When Disassembling the Carburetor to Fix a Stuck Float?
When disassembling the carburetor to fix a stuck float, avoid forcing components apart, misplacing small parts, or using excessive pressure. Take your time, follow the manual, and be gentle to prevent causing damage or complicating the repair process.
How Often Should the Float and Valve Be Cleaned and Inspected to Prevent Future Issues?
To prevent future issues, you should clean and inspect the float and valve at least once a year. Regular maintenance will help ensure that the float doesn’t get stuck and the lawnmower runs smoothly.
Is There a Way to Prevent the Float From Getting Stuck in the Future?
To prevent the float from getting stuck in the future, regularly clean and inspect it based on the manufacturer’s recommendations. Also, ensure that the fuel used is clean and free from debris that could cause the float to stick.
What Should Be Done if Cleaning and Inspecting the Float and Valve Doesn’t Solve the Problem?
If cleaning and inspecting the float and valve doesn’t solve the problem, you may need to replace them. Make sure to use the right parts and follow the manufacturer’s guidelines for a proper fix.
Conclusion
Now that you’ve cleaned and inspected the float and valve, and reassembled the carburetor, it’s time to test your lawnmower.
Start it up and see if the float is no longer stuck. If it’s still not working properly, you may need to repeat the steps or seek professional help.
Taking care of your lawnmower’s maintenance will ensure it runs smoothly and efficiently.

