Ever wondered how to replace a lawn mower pull cord?
It’s easier than you think! With just a few tools and some simple steps, you can have your lawn mower up and running again in no time.
Just follow these instructions to get your lawn mower pulling like new.
Tools and Materials Needed
You’ll need a pair of pliers for gripping and a screwdriver for removing the housing cover. Additionally, gather a new pull cord, the appropriate replacement handle, and any other tools specified by your mower’s manual.
It’s crucial to ensure that the tools and materials you use are compatible with your specific lawn mower model to avoid any potential issues.
When selecting pliers, opt for a pair with a comfortable grip and sturdy jaws to effectively hold and manipulate the small components inside the mower.
A screwdriver with a magnetic tip can be particularly helpful for handling tiny screws and preventing them from getting lost during the process.
If the pull cord has snapped, inspect the housing cover for any damage that may have led to the breakage. It’s important to address any underlying issues to prevent a repeat occurrence.
Once you have all the necessary tools and materials on hand, you’re ready to proceed with replacing the pull cord on your lawn mower.
Preparation and Safety Measures
Before you begin the task of replacing the lawn mower pull cord, make sure to prioritize safety.
Ensure you have the proper tools required for the job and take necessary precautions to prevent accidents.
Your well-being is paramount, so take the time to prepare and follow safety measures before starting the repair.
Safety First
To ensure your safety while replacing a lawn mower pull cord, always wear appropriate personal protective equipment, such as safety goggles and gloves. These items will protect your eyes from debris and your hands from cuts or burns.
Before starting, make sure the lawn mower is turned off and the spark plug wire is disconnected to prevent accidental starting. Clear the work area of any obstacles and ensure good lighting for better visibility. Keep a first aid kit handy in case of any mishaps.
It’s also crucial to read the lawn mower manual and familiarize yourself with the specific steps for replacing the pull cord. By taking these safety measures, you can minimize the risk of accidents and work on replacing the pull cord with confidence.
Proper Tools Required
Gather the necessary tools such as a socket wrench, pliers, and a replacement pull cord to prepare for the lawn mower pull cord replacement. These tools will help you safely and efficiently complete the task.
Remember to take proper safety measures before starting the replacement process, such as disconnecting the spark plug to prevent accidental starting. Additionally, ensure that the mower is on a flat, stable surface to avoid any accidents.
Once you have gathered the tools and taken the necessary safety precautions, you can proceed with confidence to replace the lawn mower pull cord.
Tools Required:
- Socket wrench
- Pliers
- Replacement pull cord
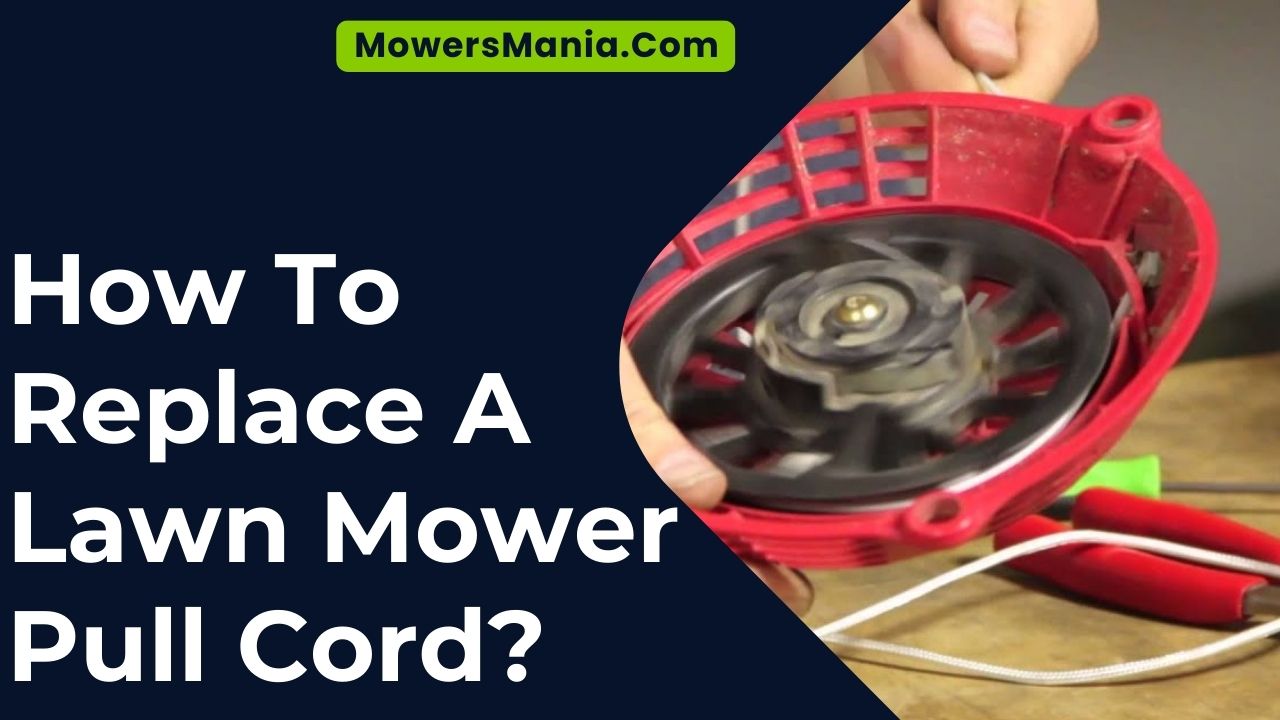
Removing the Old Pull Cord
You’ll need to start by removing the old pull cord from the lawn mower. This process requires a few simple steps and the right tools.
Here’s a quick guide to help you with the removal:
| Tools Needed | Materials Needed |
|---|---|
| Screwdriver | New pull cord |
| Pliers | Clean cloth |
| Socket wrench | Lubricating oil |
| Work gloves |
First, disconnect the spark plug to ensure the mower doesn’t start accidentally. Then, locate the starter assembly on the lawn mower. Use the screwdriver to remove the screws holding the cover in place. Once the cover is off, you’ll see the old pull cord.
Carefully unwind and remove it from the pulley, taking note of how it’s wound around the pulley for when you install the new one.
Inspect the pulley and the entire assembly for any signs of wear or damage. Clean any dirt or debris, and apply a small amount of lubricating oil to ensure smooth operation when the new pull cord is installed. With the old pull cord removed, you’re now ready to proceed with installing the new one.
Installing the New Pull Cord
Now that you’ve removed the old pull cord, it’s time to install the new one.
The tension adjustment process and securing the handle correctly are crucial points that you need to focus on.
Taking care of these aspects will ensure that your lawn mower pull cord works smoothly and efficiently.
Tension Adjustment Process
To ensure that the new pull cord is properly tensioned, regularly check for any signs of wear or fraying.
Once you’ve installed the new pull cord, follow these steps to adjust the tension:
-
Access the Recoil Starter Assembly: Remove any covers or housing to access the recoil starter assembly. This will allow you to reach the mechanism that controls the tension of the pull cord.
-
Adjust the Tension: Locate the tension adjustment screw or bolt on the recoil starter assembly. Use a screwdriver or wrench to tighten or loosen the tension, depending on the specific requirements of your lawn mower model.
-
Test the Tension: After making adjustments, gently pull the cord to ensure it retracts smoothly and with the right amount of resistance. Make further adjustments as needed until the tension feels just right.
Securing the Handle Correctly
Securing the handle correctly, attach the new pull cord to the recoil starter assembly by threading it through the hole and tying a secure knot.
Once the cord is threaded and knotted, carefully wind it around the recoil pulley, ensuring it’s wound in the correct direction to engage the recoil spring.
Then, holding the handle, slowly release the recoil pulley, allowing the new cord to retract onto the pulley.
Make sure the handle is positioned correctly and tighten any screws or bolts to secure it in place.
Test the pull cord to ensure it retracts smoothly and the handle is secure.
Proper installation of the pull cord and handle is crucial for the effective functioning of the lawn mower.
Reassembling the Lawn Mower
Attach the spark plug wire to the spark plug, ensuring it’s securely fastened. Once the spark plug wire is in place, it’s time to reassemble the lawn mower.
Follow these steps:
-
Reattach the Engine Cover: Carefully position the engine cover back onto the mower, ensuring that all the tabs and slots align properly. Secure the cover in place using the screws or fasteners that were removed earlier. Make sure the cover fits snugly to prevent any debris from entering the engine compartment.
-
Install the Pull Cord Housing: Place the pull cord housing back onto the mower, ensuring that the recoil spring is properly positioned. Secure the housing with the screws or bolts that were removed during disassembly. Test the pull cord to ensure it retracts smoothly and without any obstructions.
-
Replace the Blade and Blade Housing: Carefully reattach the blade and blade housing to the lawn mower deck. Ensure that the blade is properly aligned and secured with the retaining bolt. Tighten the bolt securely to prevent any issues during operation.
Following these reassembly steps will ensure that your lawn mower is put back together correctly and ready for use.
Testing the New Pull Cord
Once you have reassembled the lawn mower, it’s important to test the new pull cord to ensure it retracts smoothly and functions properly. Begin by gently pulling the cord to see if it extends fully and retracts without any snags or resistance.
If the cord extends smoothly and retracts properly, you can proceed to start the lawn mower to confirm that the engine engages without any issues.
Pull the cord firmly to start the engine and observe if it starts smoothly without any unusual sounds or vibrations. After starting the mower, allow it to run for a few minutes to ensure that the pull cord continues to retract properly during operation.
Listen for any unusual noises or signs of the cord malfunctioning as the engine runs. If everything appears to be working as it should, you can consider the replacement a success.
If you encounter any issues during the testing process, such as the cord not retracting smoothly or the engine not starting properly, it may be necessary to disassemble the mower again to address the problem. Always prioritize safety when testing the pull cord and starting the lawn mower.
Frequently Asked Questions [FAQs]
How Can I Prevent the Pull Cord From Getting Tangled or Stuck in the Future?
To prevent the pull cord from getting tangled or stuck in the future, make sure to wind it evenly when retracting, avoid yanking it too aggressively, and regularly inspect the cord for any signs of wear or damage.
Are There Any Specific Maintenance Tips for the Pull Cord Mechanism After Replacement?
After replacing the pull cord, make sure to keep the mechanism clean and lubricated to prevent future issues. Regularly check for fraying or wear, and address any problems promptly. Following these maintenance tips will help prolong the life of the pull cord.
Can I Use a Different Type or Size of Pull Cord for My Lawn Mower?
Yes, you can use a different type or size of pull cord for your lawn mower, but it’s crucial to ensure that the replacement cord is compatible with your mower’s engine and can handle the required tension.
Is There a Specific Way to Wind the New Pull Cord Onto the Recoil Pulley for Optimal Performance?
When winding the new pull cord onto the recoil pulley for optimal performance, ensure it is wound tightly and evenly. Avoid overlapping the cord, and make sure it is securely attached to the pulley.
What Should I Do if the Pull Cord Still Doesn’t Work After Replacement?
If the pull cord still doesn’t work after replacement, check for any obstructions in the recoil assembly and ensure the cord is properly wound around the pulley. If the issue persists, it may be a sign of a more serious internal problem.
Conclusion
Now that you have successfully replaced the pull cord on your lawn mower, you can enjoy a smooth and efficient start every time you use it.
Remember to always follow safety measures and proper maintenance to ensure the longevity of your lawn mower.
With the right tools and a little bit of know-how, you can keep your lawn mower in top condition for years to come.

