If your lawn mower’s battery keeps losing charge, you may need to test the voltage regulator. Testing it is crucial to ensure your lawn mower’s electrical system is working properly.
In this guide, you’ll learn how to test the voltage regulator on your lawn mower. We’ll walk you through the process using a multimeter and show you how to interpret the test results.
By the end, you’ll have the knowledge to troubleshoot and fix any voltage regulator issues, keeping your lawn mower running smoothly.
Understanding the Voltage Regulator
When diagnosing the voltage regulator on your lawn mower, understanding its function is crucial for accurate testing. The voltage regulator is responsible for ensuring that the electrical system in your lawn mower maintains a constant and steady voltage level.
It achieves this by regulating the output of the alternator or generator to prevent overcharging or undercharging the battery. This is essential for preserving the lifespan of the battery and preventing damage to the electrical components of the mower.
The voltage regulator works by monitoring the voltage level in the electrical system. If the voltage goes above or below the predetermined level, the regulator adjusts the field current in the alternator to maintain a stable output.
This is especially important when the engine speed fluctuates, as it ensures that the electrical system remains stable regardless of the engine’s RPM.
Tools Needed for Testing
To test the voltage regulator on your lawn mower, you’ll need a multimeter to measure the electrical output. This tool will help you determine if the voltage regulator is functioning properly and providing the correct voltage to the mower’s electrical system.
In addition to the multimeter, you’ll also need a few other tools to effectively test the voltage regulator. Here’s what you’ll need:
-
Screwdriver: A screwdriver will be necessary to remove the cover or access panel to reach the voltage regulator.
-
Safety goggles: It’s important to protect your eyes while working on your lawn mower, especially when dealing with electrical components.
-
Gloves: Insulated gloves will provide an extra layer of protection while handling electrical connections and components.
-
Wire brush: A wire brush will come in handy for cleaning any corrosion or debris from the terminals and connections.
-
Clean cloth: Having a clean cloth on hand will allow you to wipe down any surfaces and keep your work area tidy.
Gathering these tools before you begin testing will help ensure a safe and efficient process.
Testing the Voltage Regulator With a Multimeter
To begin testing the voltage regulator with a multimeter, gather your tools, including the multimeter, screwdriver, safety goggles, gloves, wire brush, and clean cloth, to ensure a safe and efficient process.
Start by disconnecting the lawnmower’s battery to prevent any electrical mishaps. Put on your safety goggles and gloves to protect yourself from any potential harm.
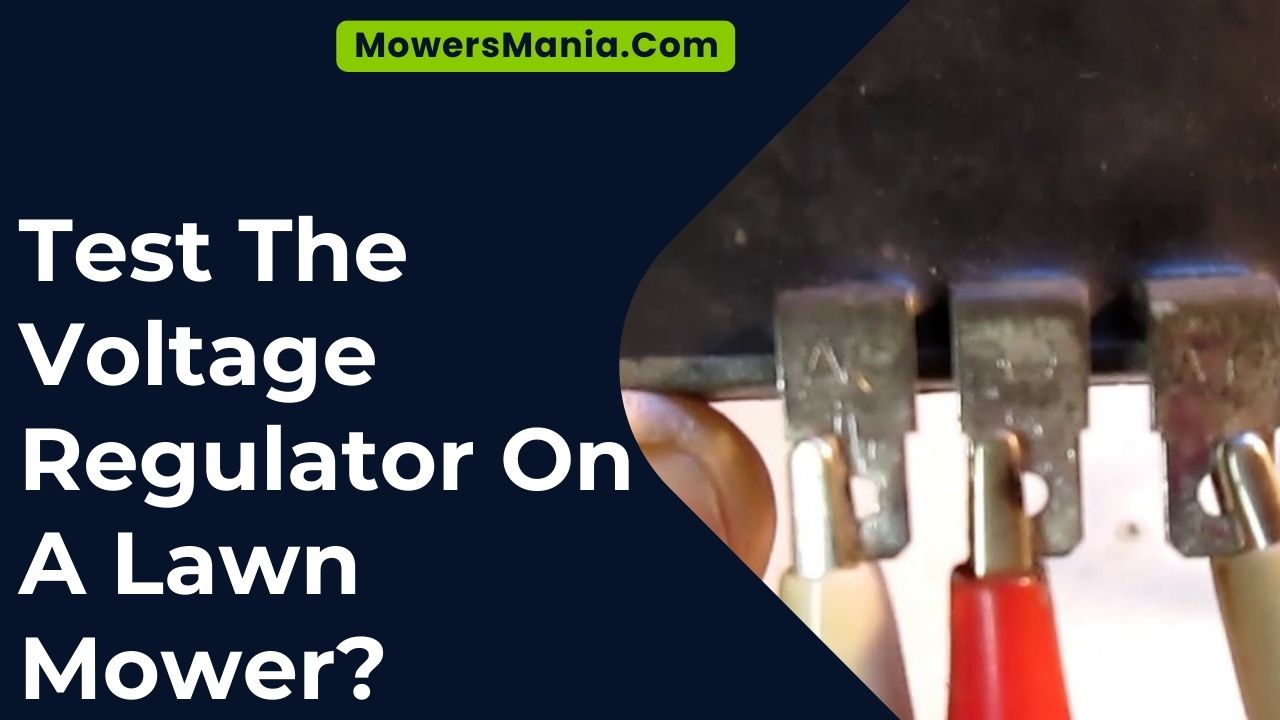
Locate the voltage regulator, usually near the engine or on the mower’s frame. Use the screwdriver to remove any covering or panels that may be obstructing access to the voltage regulator.
Next, set your multimeter to measure voltage. Connect the multimeter’s red lead to the positive terminal on the regulator and the black lead to the negative terminal.
Turn on the multimeter and start the lawnmower’s engine. Observe the multimeter reading; it should show a voltage within the manufacturer’s specified range. If the reading is outside of this range, the voltage regulator may be faulty and in need of replacement.
After testing, turn off the lawnmower’s engine and disconnect the multimeter. Use the wire brush and clean cloth to remove any debris or dirt around the voltage regulator. Reassemble any panels or coverings that were removed, and reconnect the lawnmower’s battery.
Interpreting the Test Results
How do you determine if the voltage regulator is functioning properly based on the multimeter readings? After conducting the voltage regulator test with a multimeter, interpreting the results is crucial to understand the regulator’s performance.
Here’s how to interpret the test results:
-
Stable Voltage Output: If the multimeter readings show a consistent and stable voltage output within the manufacturer’s specified range, the voltage regulator is functioning properly.
-
Fluctuating Voltage Output: A fluctuating voltage output indicates potential issues with the voltage regulator, such as voltage spikes or drops, which can lead to irregular operation of the lawn mower.
-
No Voltage Output: If the multimeter readings show no voltage output, it’s a clear indication that the voltage regulator is faulty and needs to be replaced.
-
Excessive Voltage Output: An excessively high voltage reading on the multimeter indicates a malfunctioning voltage regulator, which can cause damage to the electrical components of the lawn mower.
-
Comparing with Manufacturer’s Specifications: Compare the multimeter readings with the manufacturer’s specifications for the voltage regulator to ensure it falls within the acceptable range for proper operation.
Additional Considerations and Troubleshooting
Consider inspecting the wiring connections and terminals for any signs of corrosion or damage. Corroded or damaged connections can disrupt the flow of electricity and affect the voltage regulator’s performance. Ensure that all connections are secure and free of debris.
Additionally, check the wiring harness for any signs of wear or fraying. Damaged wiring can cause intermittent connections and voltage fluctuations.
If the voltage regulator test results are inconclusive or if you’re still experiencing electrical issues after testing the voltage regulator, it’s important to troubleshoot other potential causes.
Check the battery to ensure it’s fully charged and in good condition. A weak or faulty battery can lead to voltage irregularities. Inspect the alternator and starter for any signs of malfunction.
A malfunctioning alternator can result in overcharging or undercharging the battery, while a faulty starter can draw excessive power from the electrical system.
Lastly, if you’ve ruled out other potential issues, consider consulting a professional technician. They have the expertise and specialized equipment to diagnose and resolve complex electrical problems in lawn mowers.
Frequently Asked Questions [FAQs]
Can a Faulty Voltage Regulator Cause Other Electrical Issues in My Lawn Mower, Such as Problems With the Ignition System or Lights?
Yes, a faulty voltage regulator can cause other electrical issues in your lawn mower, such as problems with the ignition system or lights. It’s important to test and replace the voltage regulator if needed to prevent further problems.
How Often Should I Test the Voltage Regulator on My Lawn Mower to Ensure It Is Functioning Properly?
You should test the voltage regulator on your lawn mower at least once a year to ensure it’s functioning properly. Regular testing can help prevent electrical issues and ensure your mower runs smoothly.
Is It Possible to Repair a Faulty Voltage Regulator, or Is Replacement the Only Option?
You can repair a faulty voltage regulator if the issue is minor, like a loose connection or damaged wire. However, if the regulator is significantly damaged or malfunctioning, replacement is the best option for ensuring proper functionality.
What Are the Signs That Indicate the Voltage Regulator on My Lawn Mower May Be Malfunctioning?
If your lawn mower’s voltage regulator is malfunctioning, signs may include dim or flickering lights, erratic engine performance, or a dead battery. It’s important to address these issues promptly to prevent further damage.
Are There Any Specific Maintenance Tips for Prolonging the Lifespan of the Voltage Regulator on a Lawn Mower?
To prolong the lifespan of your lawn mower’s voltage regulator, regularly check and clean the connections, keep the area around the regulator free of debris, and follow the manufacturer’s recommended maintenance schedule for your specific mower model.
Conclusion
Now that you know how to test the voltage regulator on your lawn mower, you can ensure that it’s functioning properly and providing the right amount of power to your mower’s electrical system.
By using a multimeter and following the testing process outlined in this article, you can troubleshoot any issues and make any necessary repairs to keep your lawn mower running smoothly.

